There is no doubt that video is king when it comes to social media. Over the years, a move towards video has slowly crept up and now is in full effect. Video posts regularly attract more attention with higher numbers of engagement and interaction. With more focus on your posts, video creation is a no brainer for all content creators, including those managing a social media strategy for hotels.
Although the move towards video has been a broad sweep across all platforms, including Facebook, Instagram, and Twitter, it does take more time and resources to curate a beautiful video to share with your audience. Generally, the video takes longer to produce than a still image. Yes, beautiful photos are still needed to create stunning visuals that help your brand, but the case now is that more and more we see video across all platforms, websites, and advertising. To not get left behind, it's best to start producing videos for your social media channels if you haven't already.
The pros and cons are many. On one side, although video creation takes longer, the higher levels of engagement make it difficult to negate that a move towards video is necessary for anyone wanting to remain up to speed across the industry. As we move into the era of footage, we've got to bridge the gap between the new videos that perform the best and the old way of sharing still images.
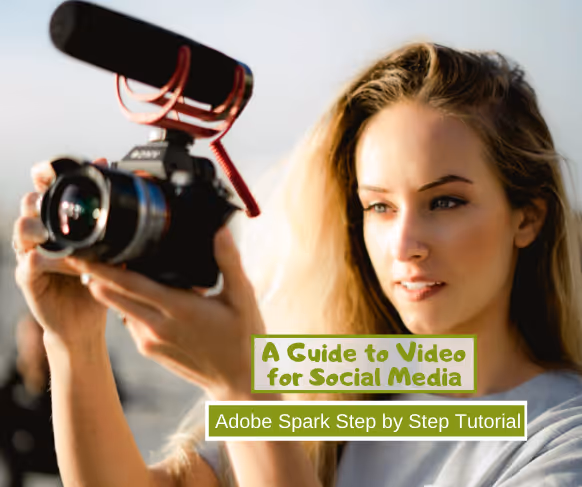
A good solution for those transitioning from images to video is Adobe Creative Cloud Express, formerly know as Adobe Spark. This tool lets you upload your video and pictures, add text and music to them and download them as an enhanced piece in an MP4 format. Take a look at this step-by-step guide on creating simple videos using the free version of Adobe Creative Cloud Express. The paid version offers watermark removal from the end of your video. It also provides a brand theme for use on all videos. You can upload your fonts, and use templates from the library for creating stills like flyers and posts with text over them. Still, the free version offers plenty for anyone dipping their feet into video creation for the first time. Although there is an option for using the phone app, this tutorial will teach you the workings on their desktop application.
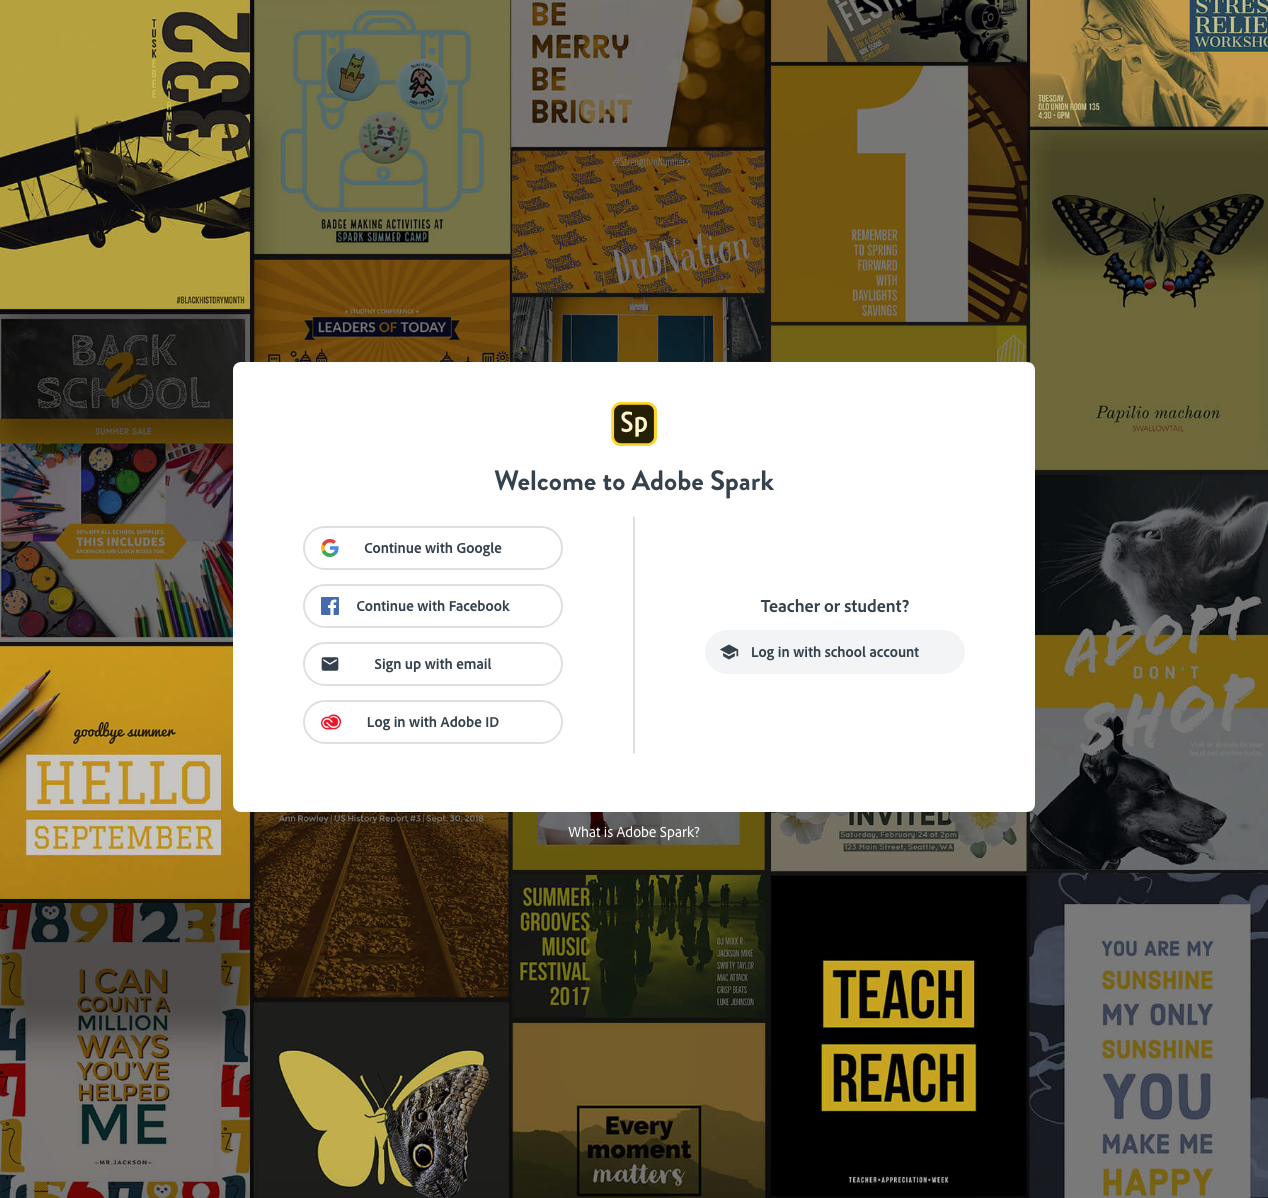
The first step is creating a free account on Adobe.
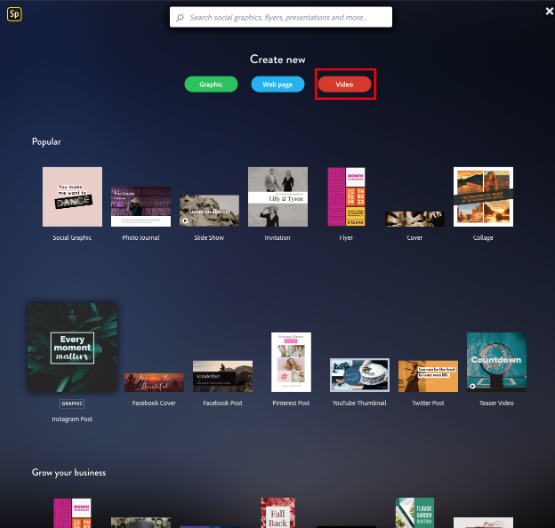
Click the plus sign to add a project.

Choose the video option.
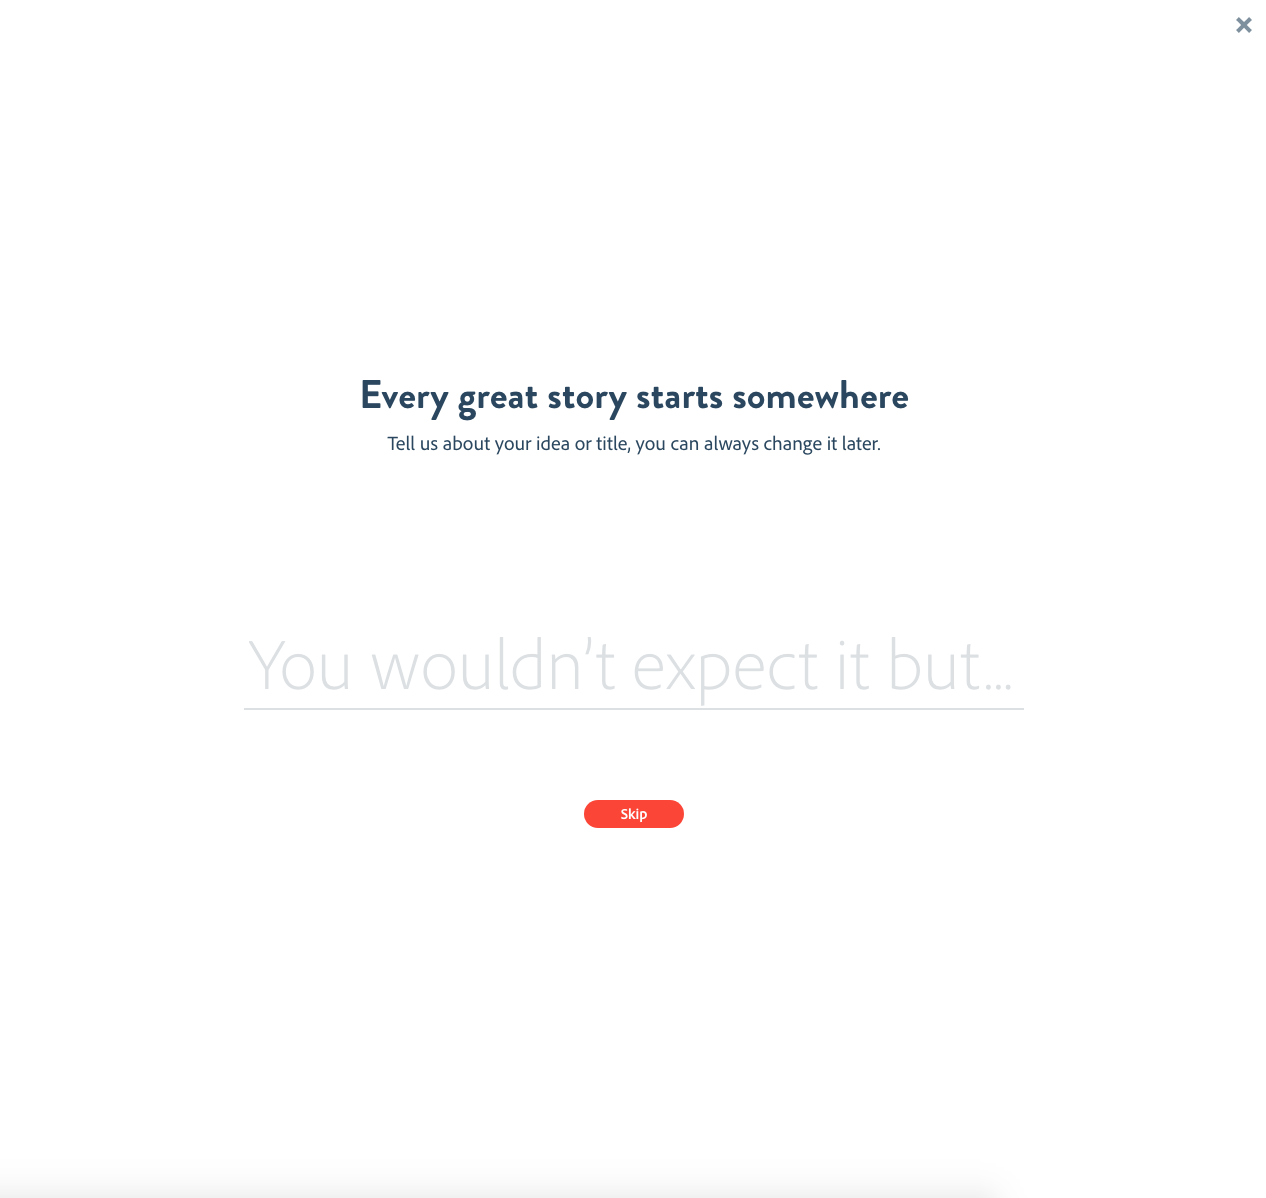
Add a title or skip
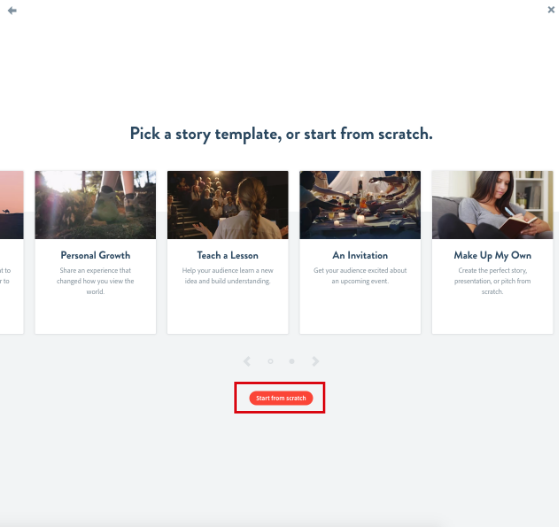
Choose a template or start from scratch.
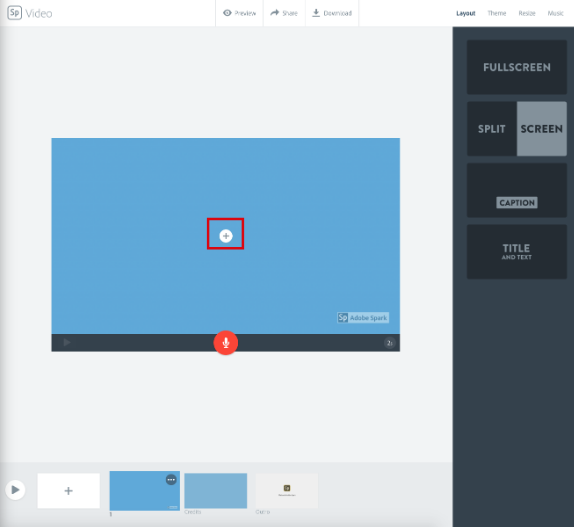
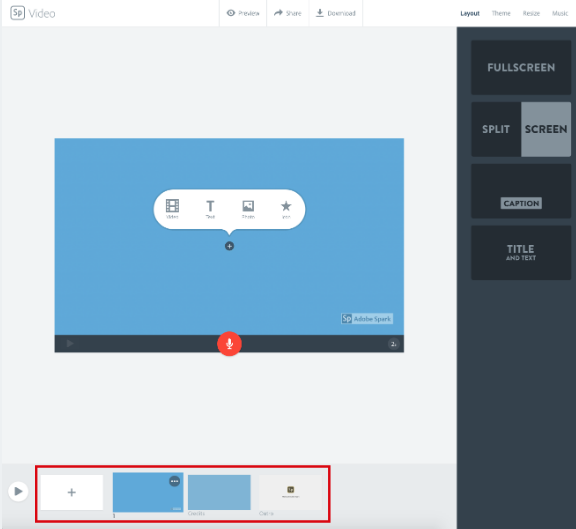
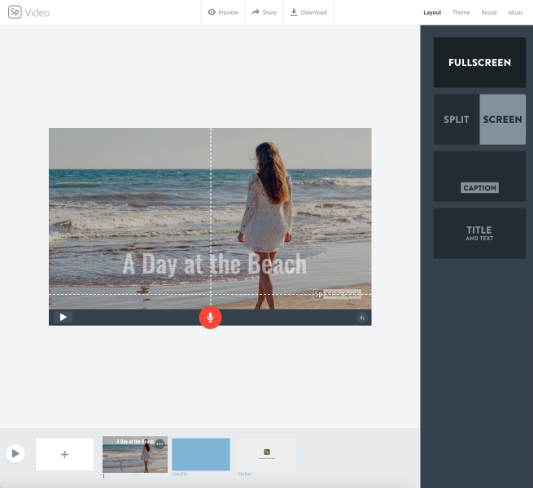
If you pick a template, you can replace the photos and music with your own. If you start from scratch, you will get this screen. The very bottom of your screen shows your pages, and the right-hand side shows your video options. Under the tabs, layout, theme, resize, and music, you have sub-options. The one shown here gives options for formatting the text. Choose the best fit for you.

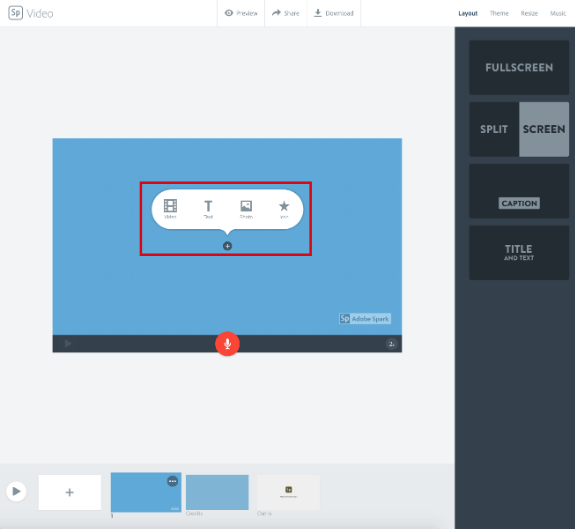
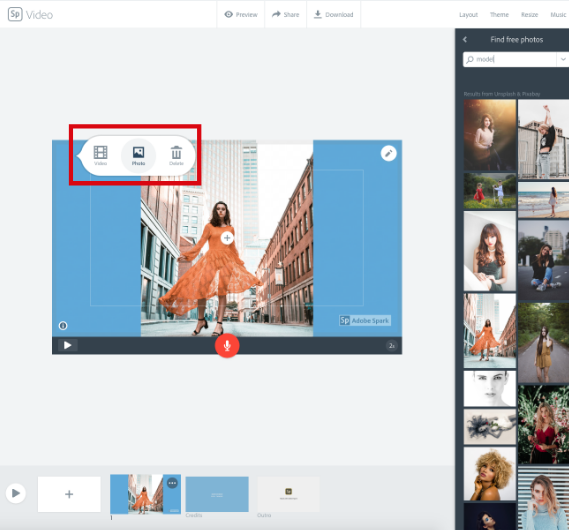
Click the plus sign to add media.
Choose your media, for this example we are going to turn a still image into a video, but if you have videos to add, this would be the place to do so.
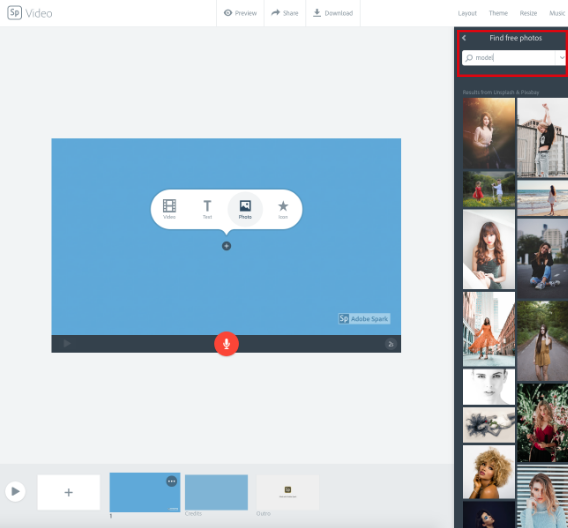
Upload your media. This is where your specific images or videos will make you stand out. You can also search for "Find free photos," and the results will be loaded from Unsplash and Pixabay, both of which have free for commercial use licensing on all of their images.
If you have a second image or video to add, click on the page you choose to add it to and repeat the same steps.
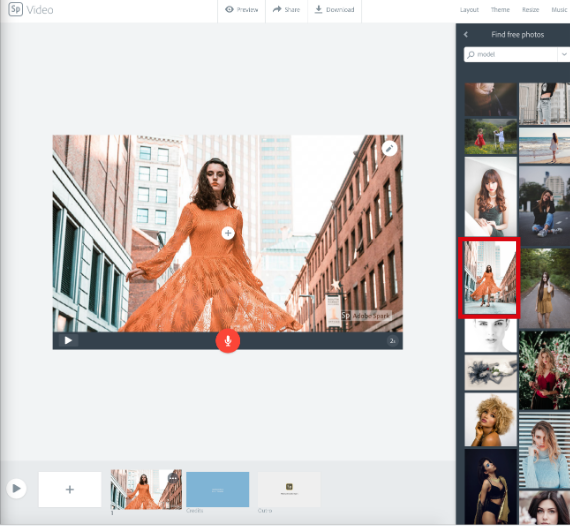
Once you find your perfect image load it on the page, if your image is vertical, it will be cropped to accommodate the page.
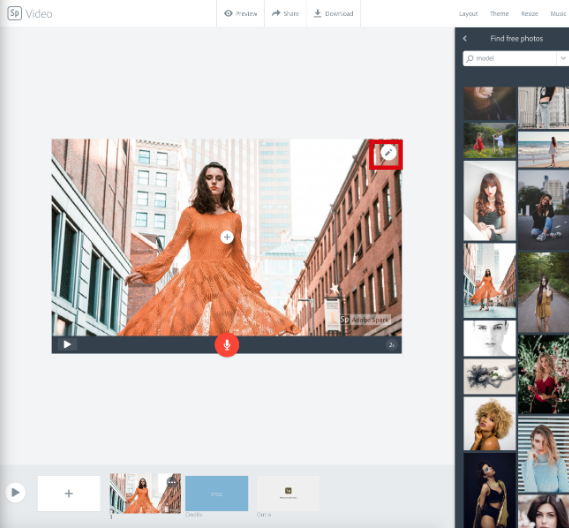
If you are unhappy with the way your image has been cropped, you can choose to minimize or enlarge the size by clicking on the pencil on the top right-hand side of the picture.
Once you zoom in or out, you can see how the image will look on the background. One of the limitations of Adobe Creative Cloud Express is that you cannot readily choose the color of the background, and you cannot move the image anywhere on the page. The only option to enlarge or minimize the photos has the image centered. If you are not happy with the image, you will have to choose a different image that is horizontal to avoid this as much as possible. This look can work with specific photos, but it's up to the creator to choose what is visually appealing and what is not, so you might have to play with these images to find the perfect fit for your purpose.

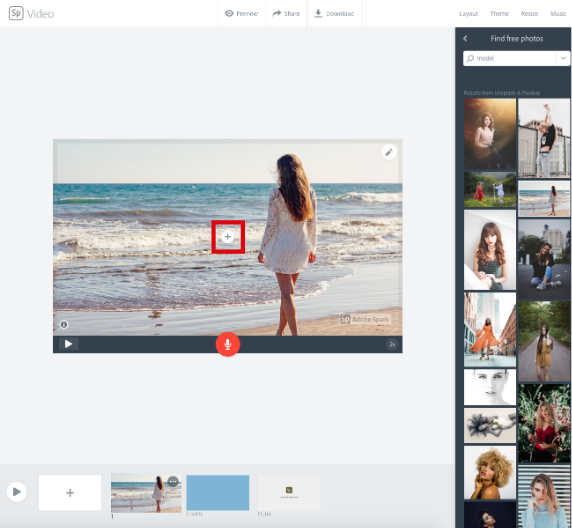
Click on the image and choose to upload another photo. This time, we'll arrange a horizontal picture.
This image looks better. It is still cropped, notice the feet on the small icon on the right are in the frame, but on the larger preview, the feet are cut off. Although this is the case, there is not as much of an impact as the vertical image. You'll have to play with the photos to choose the ones that fit this format.

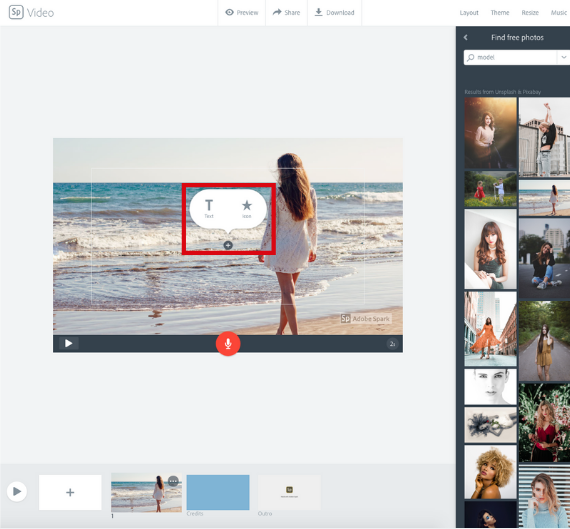
Now to add text, click the plus sign in the middle of the screen.
For this purpose, we will be using the text feature.
Type in your message in the text box and adjust the size using the plus and minus icons above the text. Although you cannot choose the exact size of your text, you get several options using these buttons.
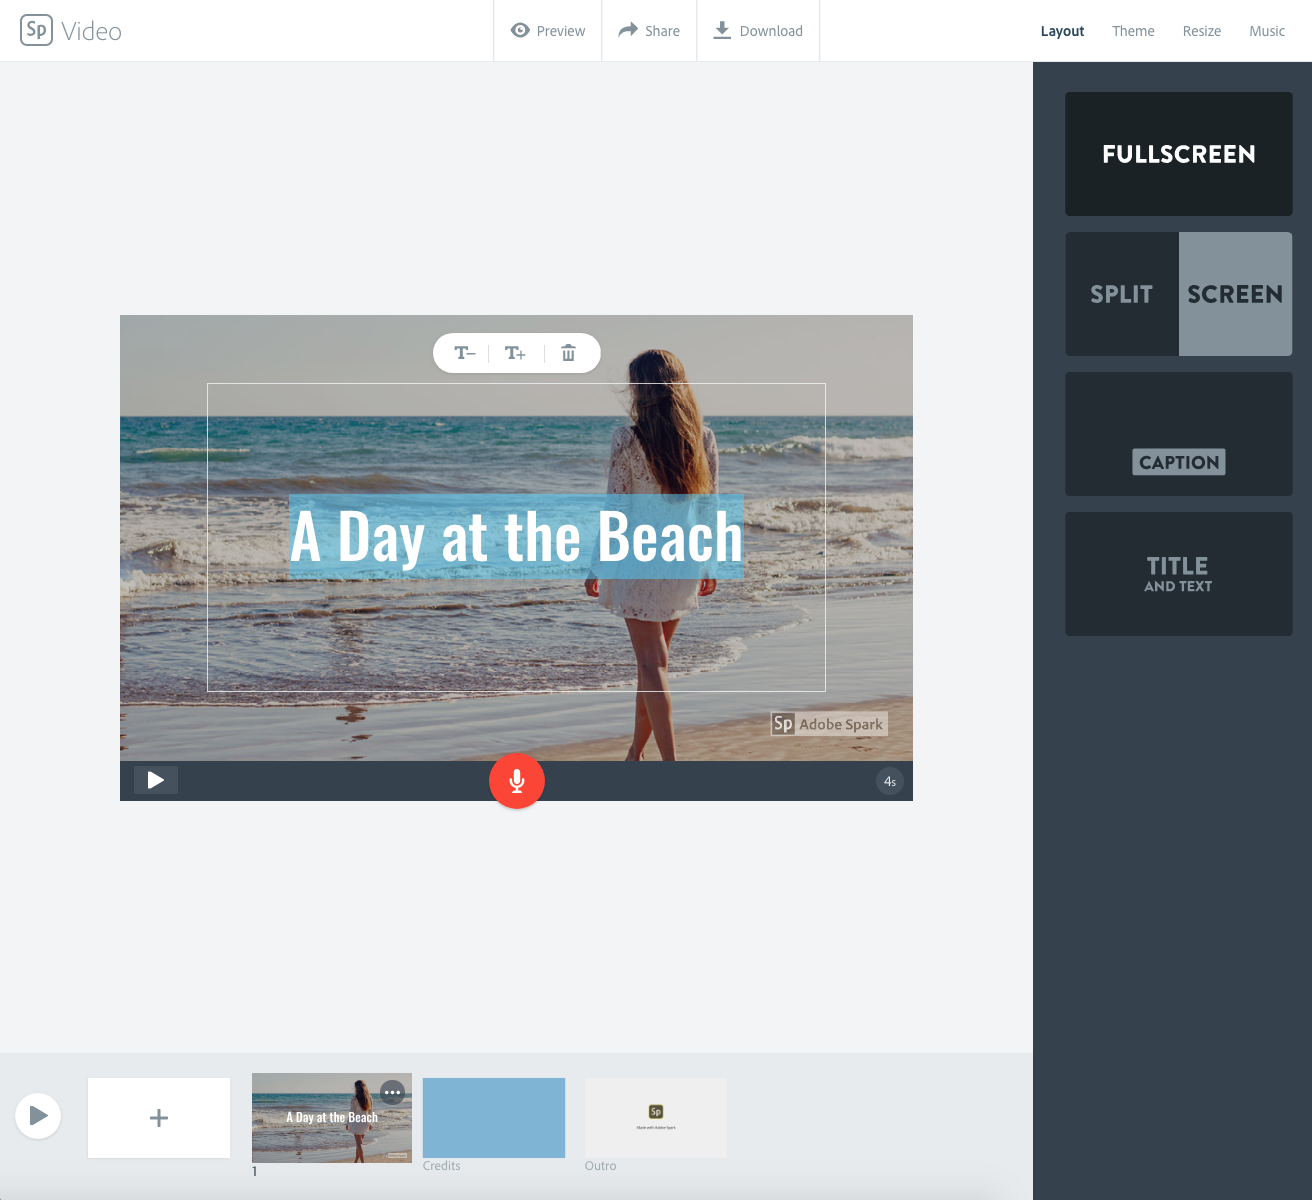
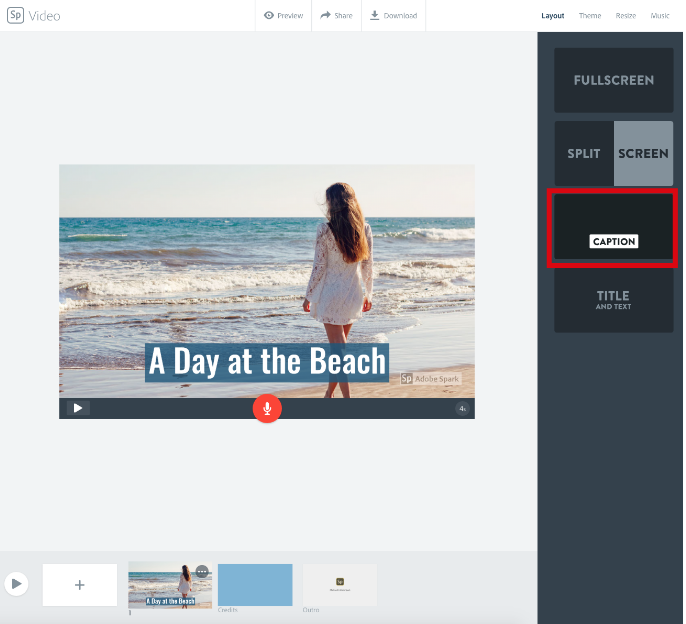
Now, drag and drop the text to your preferred spot on the page. The dotted lines will guide you. This software has a straightforward, clean design, and due to that, there are few options presented at every step. You'll only be able to choose one of nine options for the text. Either left, right or centered, and top, middle, or bottom. Unfortunately, there is no option to tilt the text or change the font on its own.
Once you've chosen the preferred spot for your text, you can select one of the layout options to change the look. When you pick your layout, the text will automatically get converted into that format. If there is an issue with the sizing or placement on the text once it's automatically converted to the new layout, you'll have to make adjustments, such as choosing a different size or design to match the image.
For example, if this photo had the text on the center of the screen, the white of the waves would wash out the text, and it would be tough to read. Remember, there is no direct option for changing the color of the text or font, so you'll have to play with this to make it look good. You have to keep another thing in mind. There is no option of changing the color of the box behind the text. Being unable to change the color would be an issue if this photo had a lot of red or orange because those colors do not look good together. But keep reading to find a workaround for this in the following steps.
Once you are happy with the basic layout of your text, it's time to choose a theme. The themes are important because they are what controls the font and color of your project. Although there is no direct way to change the fonts and colors, changing these themes will also change both of these aspects, but remember, it's a package, and it all comes together. This software is supposed to be very simple, so instead of having a plethora of options, they get bunched into themes.
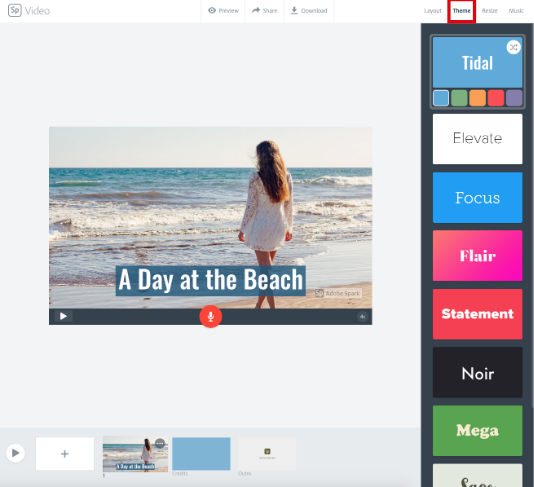
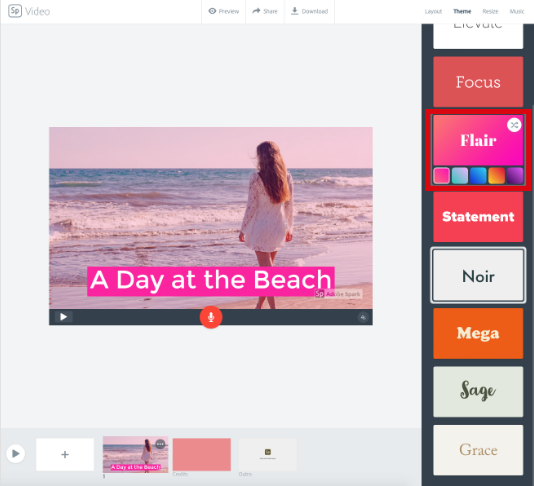
Play with these themes to find your perfect fit, but remember that since the fonts and colors are attached to the theme, if you choose a theme for one aspect of it, the rest of it will change to match it too. In this instance, the "Flair" theme automatically comes with a transparent pink filter that tints the entire image. If I choose this color, I cannot select a different font, so there would be no way of intermixing the "Sage" font with the color pink. Again, this is for simplicity's sake, but you'll have to play with the different combinations to match what fits your image and goals.
The next step is to resize the video. There are two options, a widescreen, and a square. The widescreen can be used on most platforms but would not be suitable for something like Instagram since they require specific ratios, and your video will bounce back if they are not met. If you change the size of the video, the text might change again, and you'll have to play with the text and theme and adjust so that they look good.

The next step is adding music. You can upload your music or use one of the instrumentals on hand. Here you can choose to forgo the music or adjust the volume.

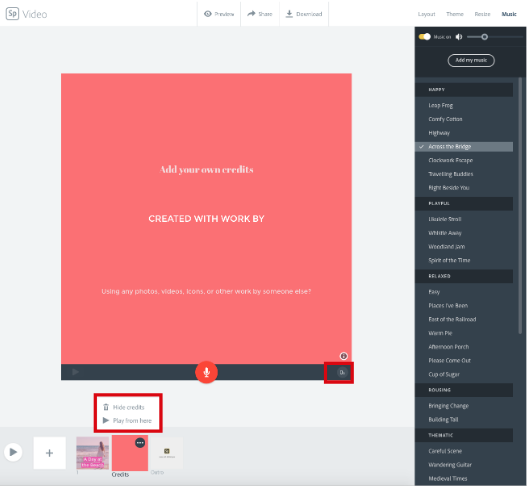
If you would like to add credits or supplement these with other info like your website, address, or phone number, you can add them here or choose to hide them. Also, check each slide and adjust the seconds on the bottom right-hand corner. Notice the last slide. It's a slide saying, "Made with Adobe Creative Cloud Express," and their logo. If you upgrade to a paid version, this is removable. You also have the option to input a watermark of your logo on each slide. You could also put a solid logo at the end of each video.
Now that you're happy with your video, you can use the options at the center of the top page to preview it, see how the transition looks between slides to make sure everything looks good and go ahead and download it.
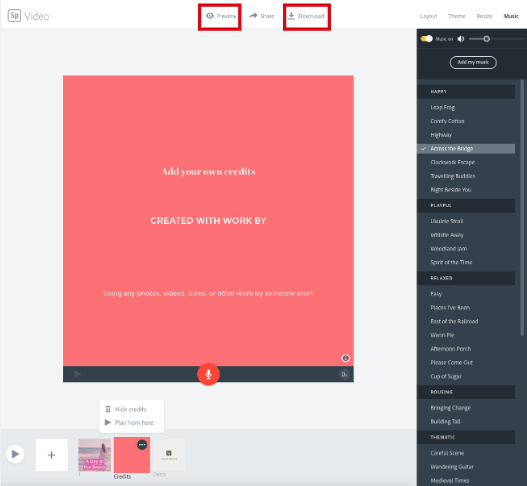
When you click download, Adobe Creative Cloud Express will load everything together. It takes a few seconds, but it depends on the number of slides, images, and videos that you've uploaded. It might take a little longer.

Now that you're video is downloaded, you can find it on your download folder or drag and drop to your desktop. Your MP4 file is ready to enjoy and share throughout your social media channels.

A great feature that was not used in this tutorial is the feature to add a voiceover to your video. By clicking the red microphone icon in the middle of the screen, you can record an audio message to use along with your video. As mentioned at the beginning of this tutorial, there are more options with the paid version that include uploading your fonts, adding your music and access to their vast library of templates. Although the templates provide an excellent outline for beginners, it might be frustrating for those looking to be more creative with their work, or who need to meet precise specifications. Overall this is an excellent tool for transforming still images into a simple video that is becoming more and more prevalent in the world of social media.


.avif)